
February 21, 2022
Our current house is a bit larger than our previous house and has several features we didn’t have before. One of these features is a Dry Bar, or Butler’s Pantry. Really? A butler’s pantry?? First, it’s in the dining room; second, we are not “butler” people and we certainly don’t live in 19th Century Europe. We immediately took to calling it a dry bar – a much more accurate and less pretentious name.
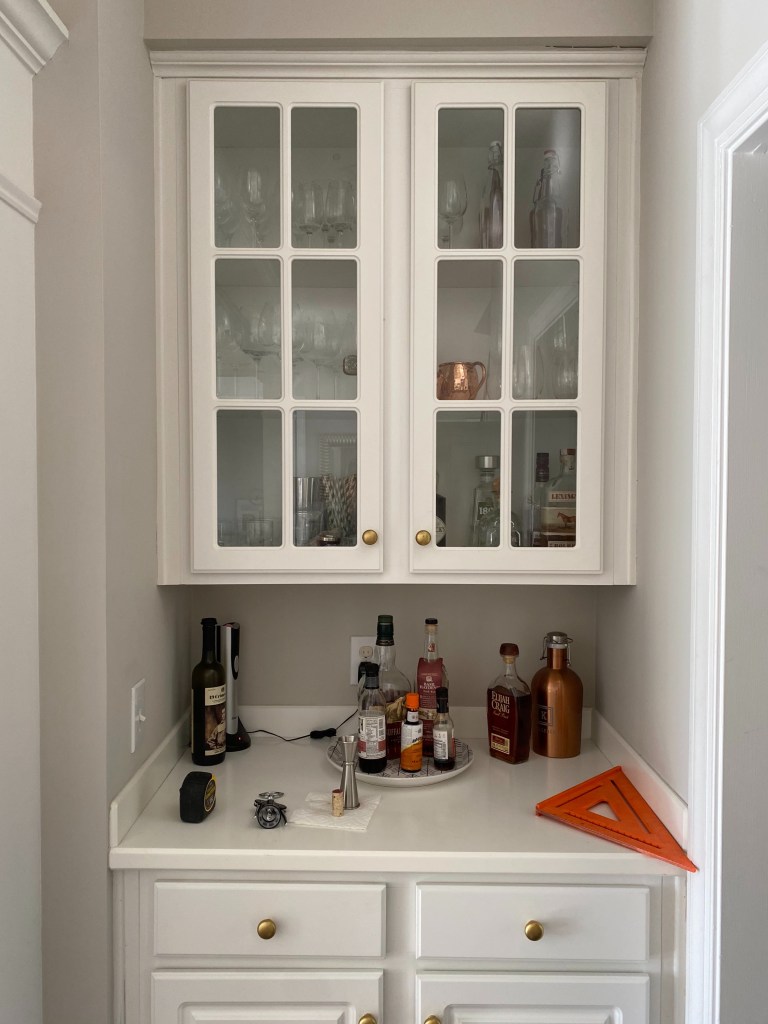
The dry bar is outfitted with the same amazing early 2000’s builder grade materials as the kitchen. The upper cabinet had a glass front, there was fluorescent under-cabinet lighting, and shiny yellow-gold knobs and pulls. We lived with it for about a year and then I asked my amazing husband (who isn’t afraid to try to make anything) to make some updates. Here’s a breakdown of what we did, including tools and cost.
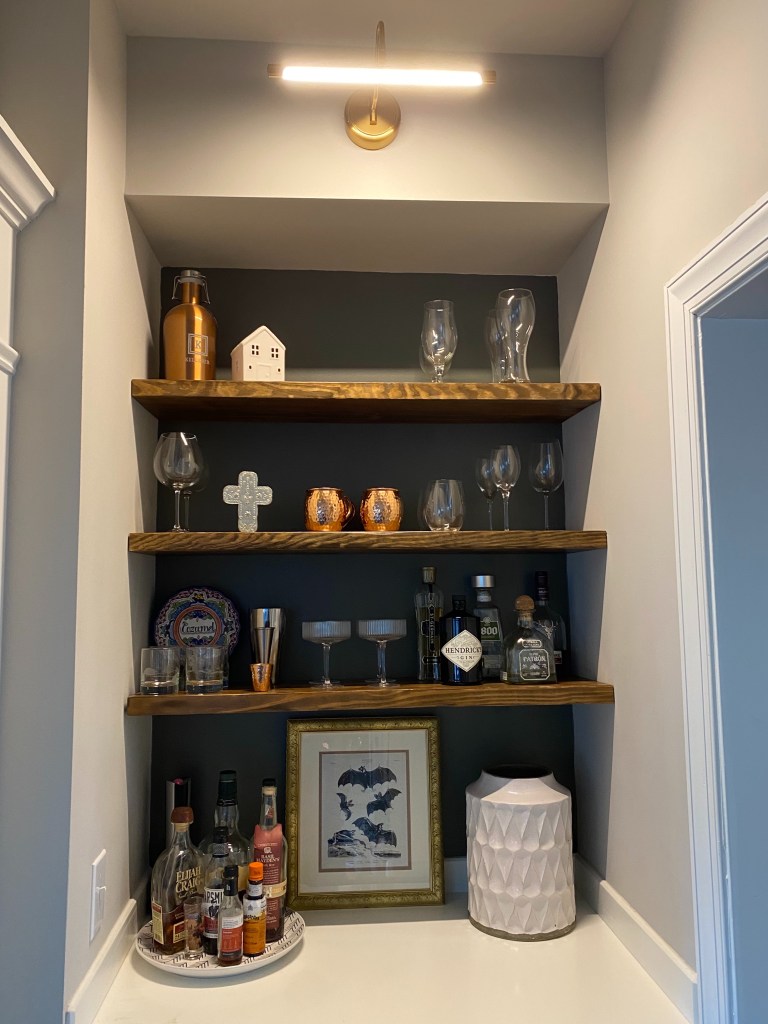
Electrical Handy Husband redid the electrical wiring using Romex ($40/25 ft spool) and fish tape ($25). We needed a new round junction box round junction box ($4) to hold the light, which required us to buy a 3 1/2in hole saw for the junction box ($26). Read the description of your light carefully to make sure you get the right size junction box. This is the picture light above the alcove ($40 on Amazon).
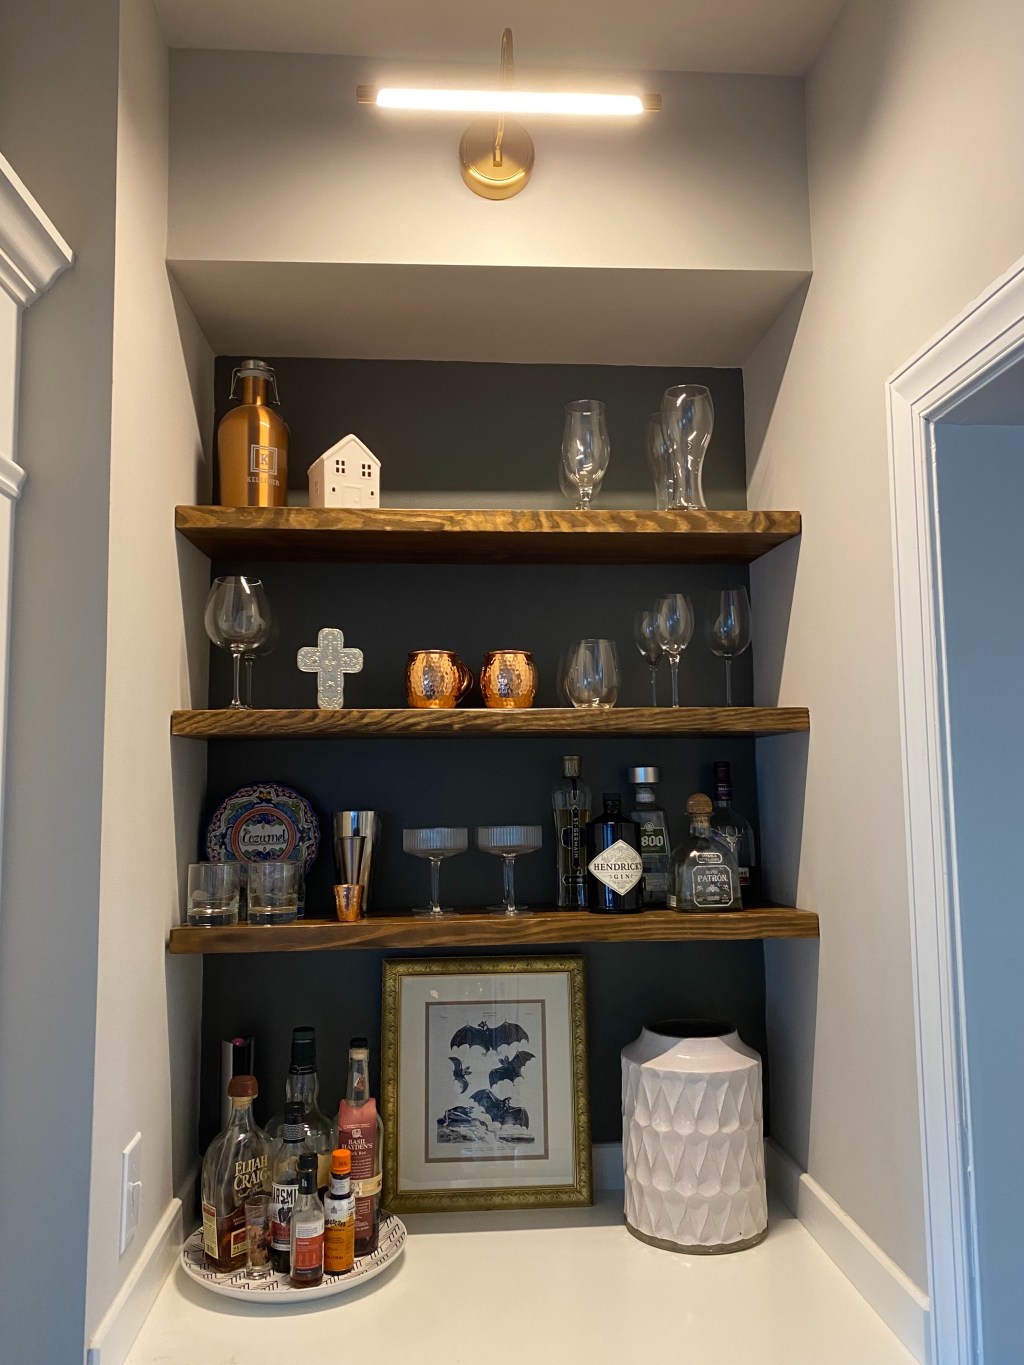
Shelves The shelves took a bit of time to figure out. We were hoping to find some salvaged wood to reduce our eco footprint but we couldn’t find any that wasn’t too thick or that didn’t cost a bajillion dollars. So we ended up having to go with 2×12 common lumber ($35) that we cut and stained ourselves – that presented a unique challenge too because the walls weren’t plumb. After a bit of research, Husband figured out how to mount the floating shelves. He had to get a special extra long 13/16″ drill bit ($35 on Etsy) to make the holes in the shelves for the brackets. Since we’d possibly be storing some bottles on the shelves, we wanted to make sure they were sturdy enough and had to be mounted in the studs. Husband ordered two 9″ body length heavy duty brackets brackets per shelf ($18 ea x 6 = $108) – the width of our bar is a little over 39″ so you might need more brackets depending on the width.
Then we used some paint we already had (it’s actually cabinet paint but oh well) to add a bit of color behind the shelves (color is SW Thunderous). I spray painted the knobs with a less shiny and more updated gold. And it looks great, for now, outside of my terrible *ahem* “styling”. And, it’s changed since I took these photos.
The dry bar will get another makeover with the kitchen renovation that will include a small wine fridge (ours is currently a separate unit), new cabinetry, a new countertop, and some wallpaper(!) on that accent wall. Because my husband had to buy a few tool attachments, this project had a bit more expense but was still very reasonable for how it turned out! And, the attachments he bought will certainly get used again, so really that is an investment outside of the costs for this particular project. Lumber prices have gone up (thanks Pandemy) so all in cost ended up being $313.
Budget Breakdown:
- Electrical: $135
- Shelves: $178
- Total: $313
Sources: Picture Light | Vase | Bat Picture | Frame is thrifted | Accent wall color: Sherwin Williams Thunderous | Stain – custom blend we made | Shelf finish – Polycrylic | Electric wine bottle opener
This post contains some affiliate links – your use of these links earns me a very small commission at no extra cost to you – and is greatly appreciated 🙂
