
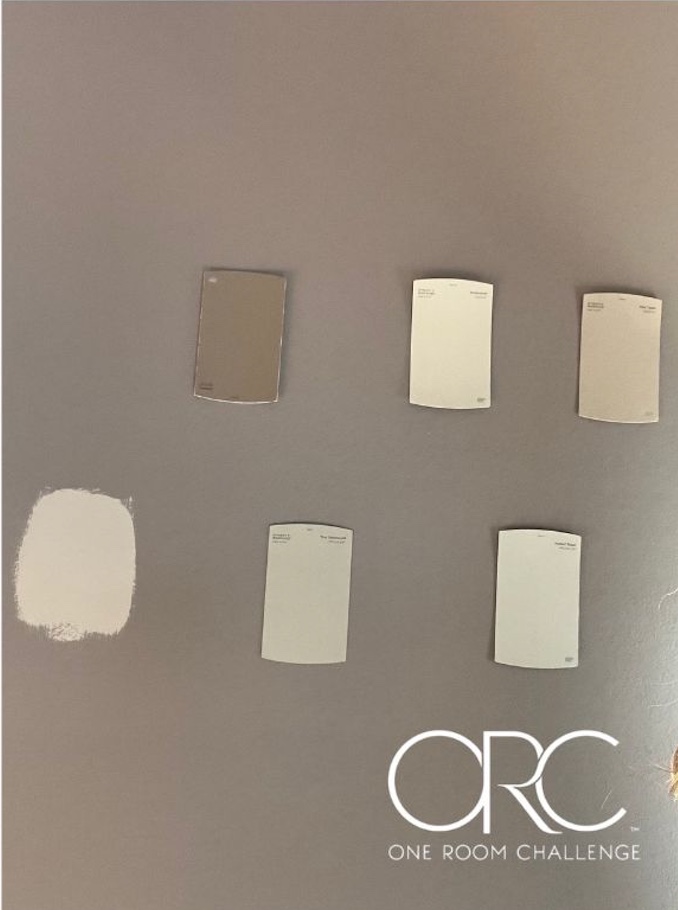
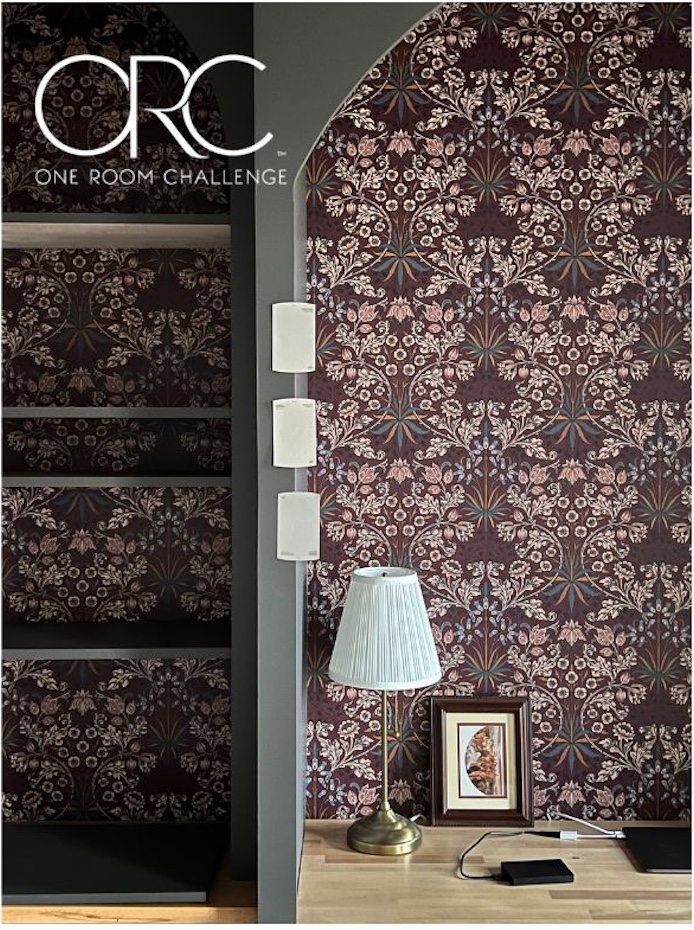
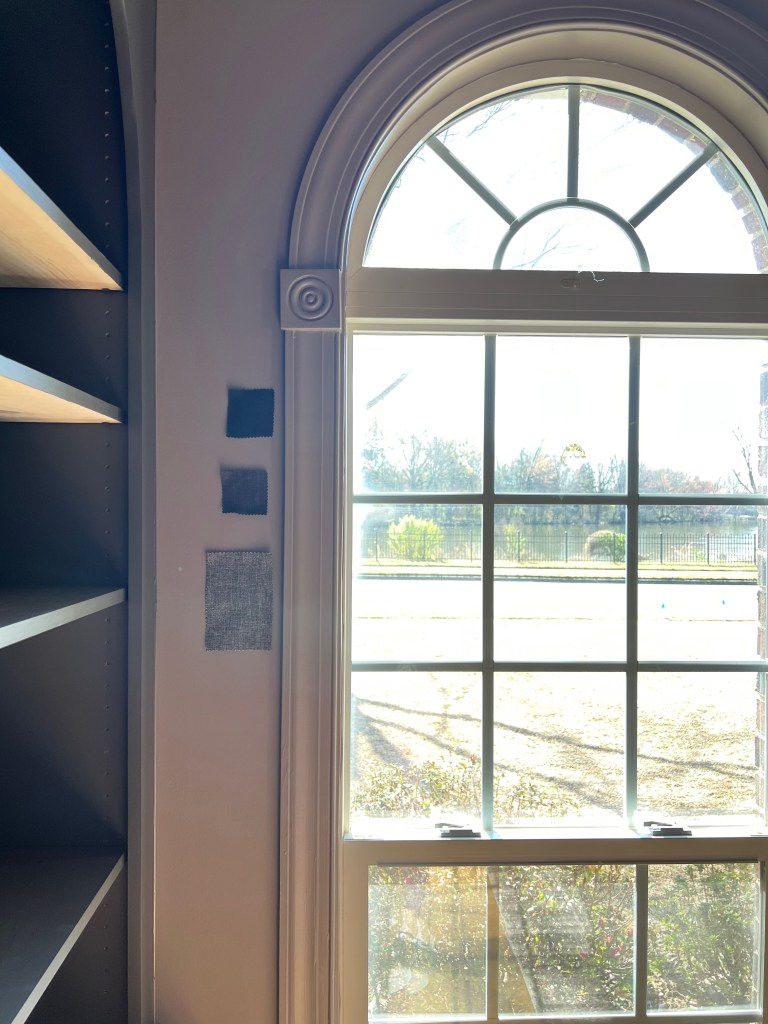
Well, this week seems very anticlimactic after last week’s wallpaper reveal but that’s just the way these things go. If you saw my post last week then you know I admitted I chose the wrong paint color for the room. It was reading very purple and just didn’t have the “feel” I wanted it to. So, rather than try to convince myself it was fine, I’m trying out this thing where you listen to that inner voice, no matter how much of a pain in the ass it seems like to change it. I know it will be even worse if I wait. So, this week I narrowed down the new paint color and then I misplaced the chip so… it’s a Behr color called Smokestack. And no, I didn’t keep track of which one it was in these pictures – listen, I’m doing the best I can here, ok?! Haha!
All wasn’t lost though, I still worked on some other things we’ll need for the room, like swapping art out of thrifted frames, thrifting a few decorative items, sprucing up a thrifted mirror, stained the butcher block and built in tops, and chosing a fabric for the window treatments.
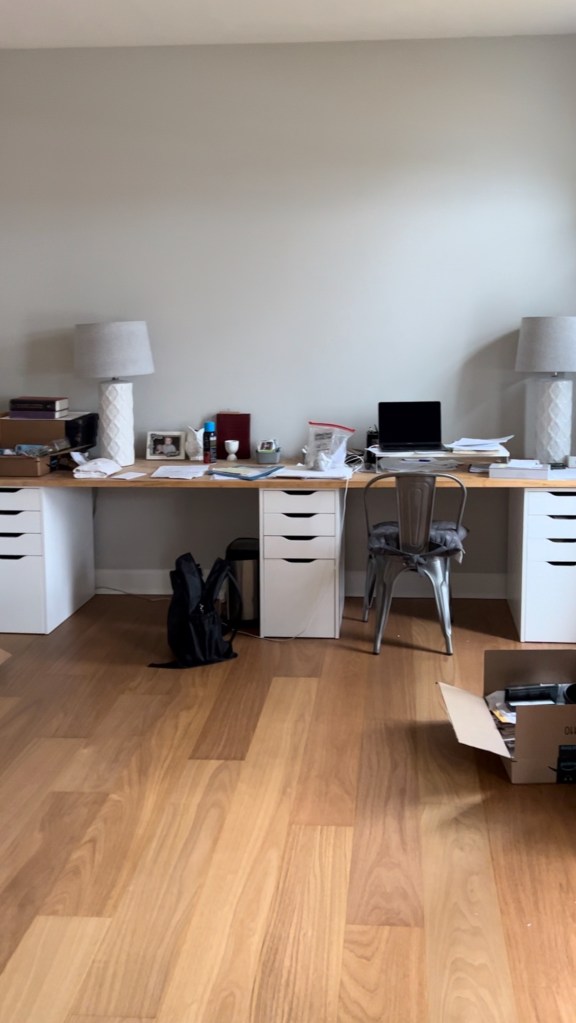
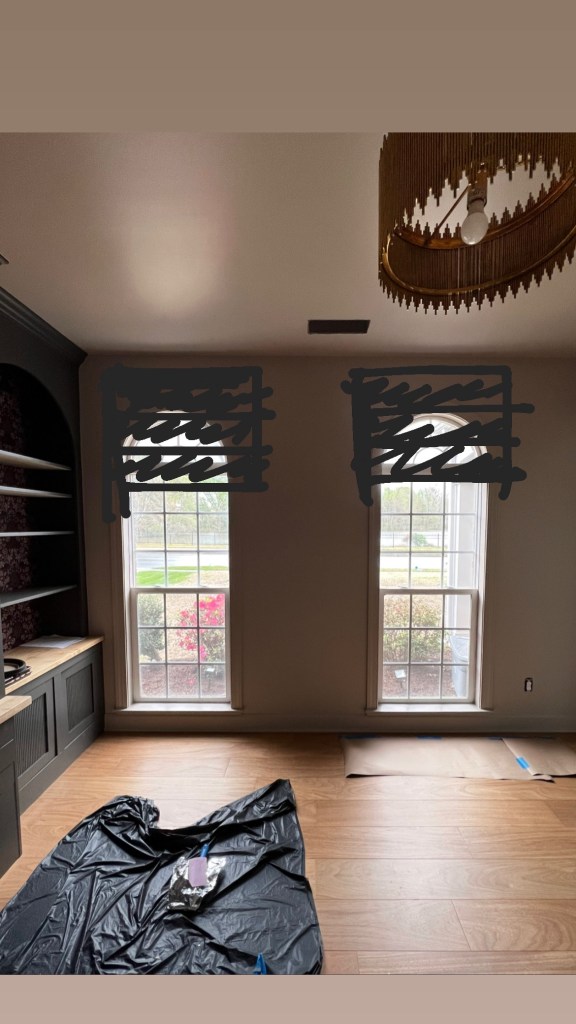
The bookcase concept kind of morphed during the design phase into its current state with base cabinets, a counter top surface, and then the arched bookcase on top. This was Husband’s idea and I love it – but it meant some budget creep, so we were trying to figure out how to reuse what we had on hand if at all possible. Our old desk surface was one really long wooden top that Husband built out of birch planks that he pocket screwed together and we cut it to length. We didn’t have enough to do the tops for the desk, base cabinets, and credenza top. But we also didn’t want to waste what we had by buying all new materials. So we came up with the idea to chop down the birch planks to the proper size for the base cabinets and then get two new pieces of maple butcher block for the desk and credenza surfaces. The birch wood had been around for a few years and I don’t think we even put any kind of finish or protectant on it when we originally built it, so we had to sand it down a little. While the raw colors of the birch and maple are similar, they weren’t the same, but I also knew they wouldn’t take stain the same way. So, I had to figure out how to create two different stain colors that would look the same when all finished on the two species of wood.

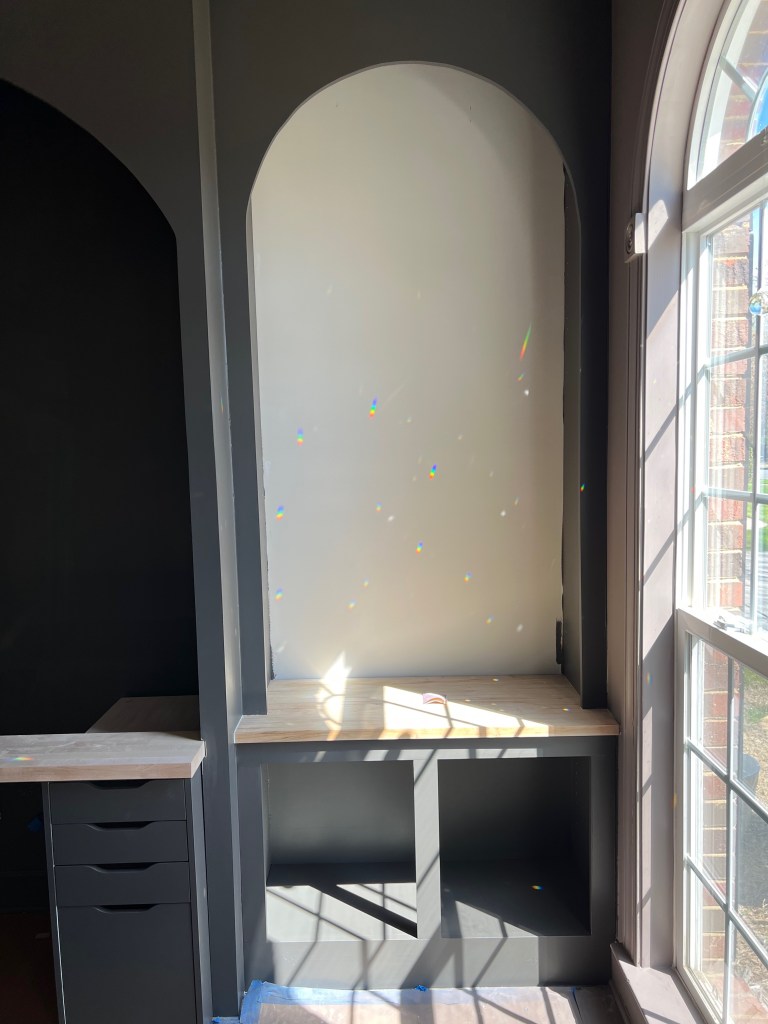
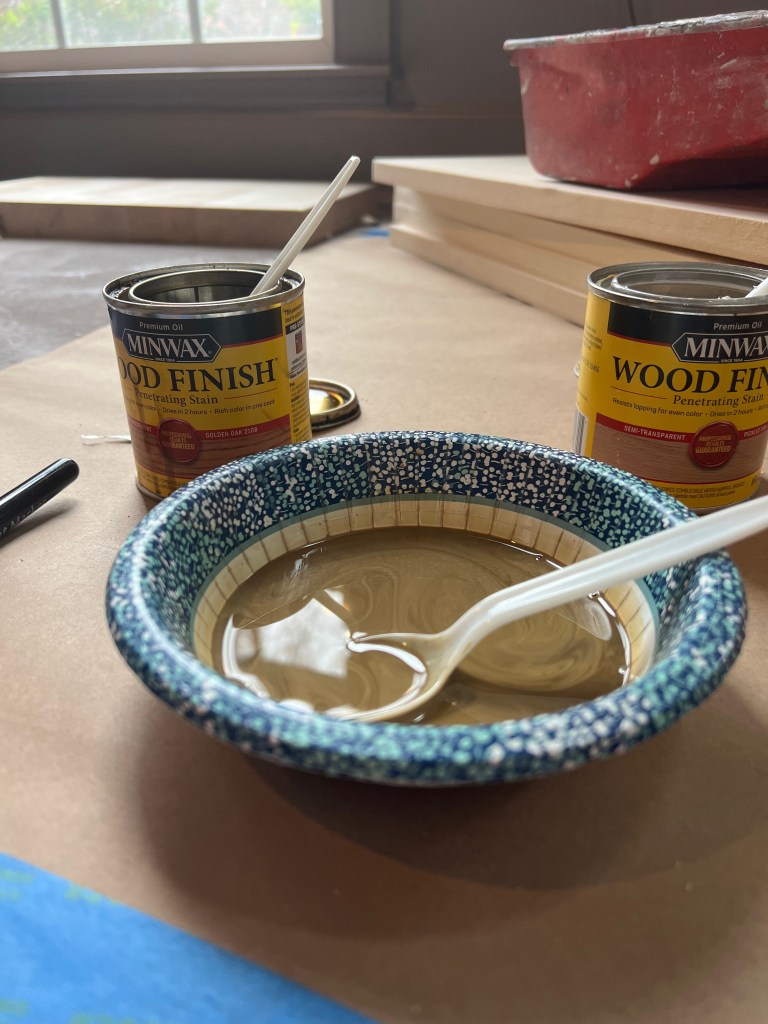
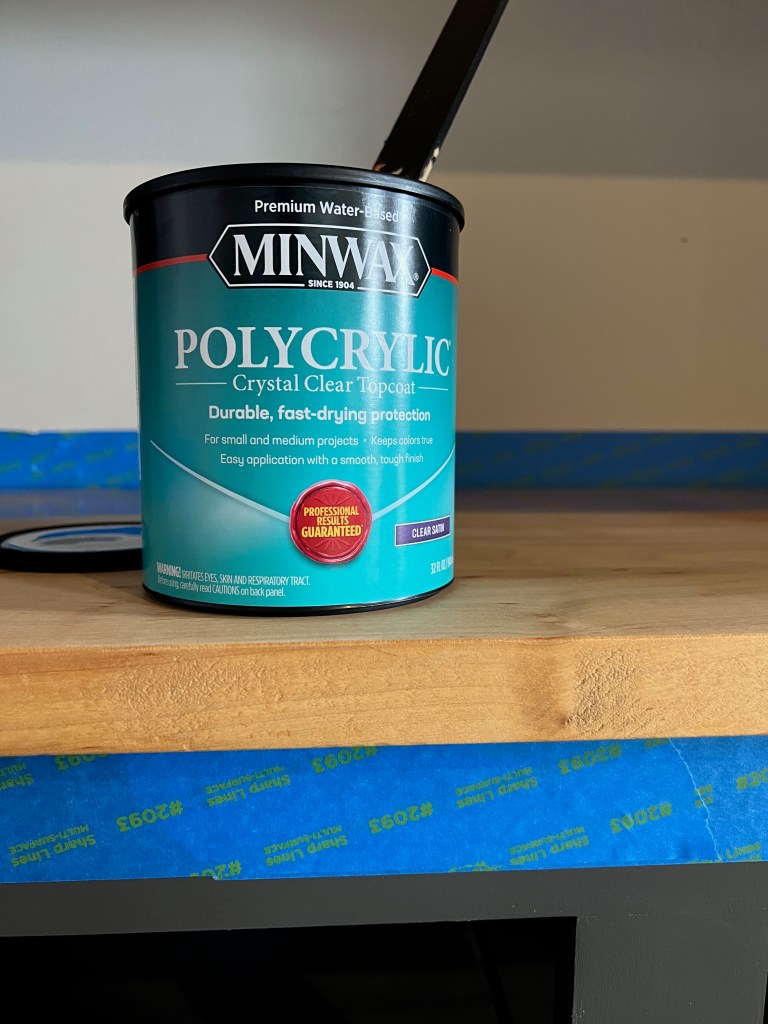
We had some offcuts from each material so I used that to test and compare each of my stain formulas. The stain I used was Minwax Golden Oak, which we had on hand, and some Minwax Pickled Oak, which I found on sale at Home Depot one day and grabbed it just because. It was a very scientific process of using a disposable paper bowl for mixing and disposable spoon for measuring. I’ll spare you the details of my trial and error, here are the final formulas: for the birch base cabinet tops 3:2 Golden Oak:Pickled Oak; for the maple butcher block (desktop and credenza) 1:1 Golden Oak:Pickled Oak. Then I finished off with two coats of Polycrylic in a clear satin finish.
For the thrifted frames, I used some artwork I’d been collecting from my public domain browsing and had printed on giclee paper from Mpix. This is a great, inexpensive way to explore your taste in art or to swap out art without breaking the bank. I’m only recently letting myself just explore what catches my eye without trying to compare it to what others are doing or trying to like something because others like it. So, in the winter when things weren’t so crazy, I’d just spend some time browsing the online public domain galleries and saving things that I was drawn to. You can find a whole blog post about it from one of my favorites, Kadie, from A Home is Announced. Plus, she curated a bunch of art for you already if you have no interest in browsing just for the sake of it. But I recommend trying the browsing technique – you might surprise yourself!
I thrifted a beautiful, unique mirror months ago for $8 and I’ve been holding onto it, waiting for the right project. I finally grabbed some Restore-A-Finish to see if I could spruce up the battered wood frame a bit. I have to say, I was very pleasantly surprised with how well it worked! Sadly, I only took video of it, so you’ll just have to wait to see how the mirror turned out.
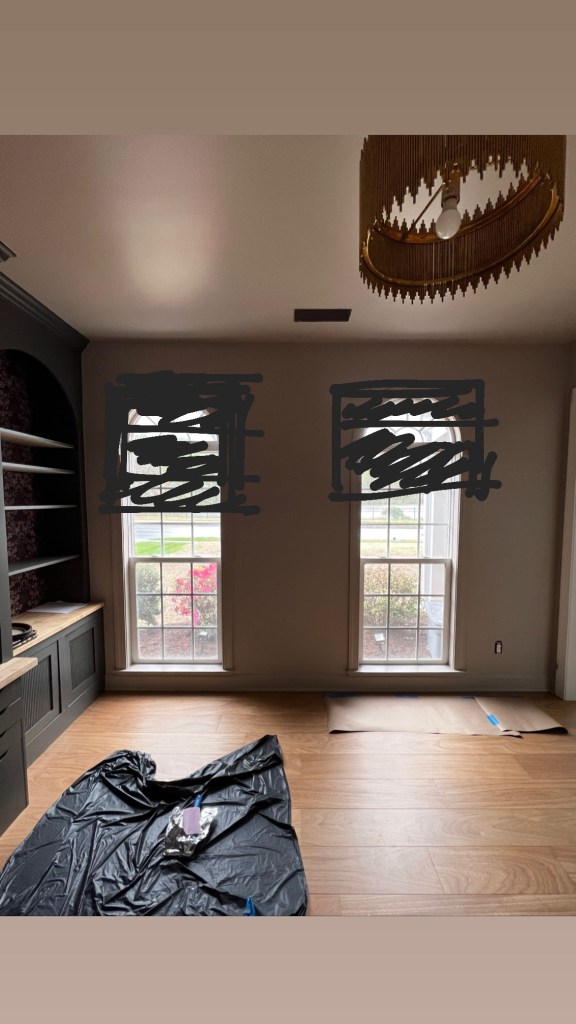
And finally, I think I’ve selected a fabric for the window treatments so I need to get those ordered ASAP. I hope I don’t regret my decision to do roman shades but as much as I really wanted black velvet drapes, the asymmetry with the windows and the bookcases would probably drive me crazy. I think I’m going to go with outside mount because I want to be able to use the room as a flex guest room if we need it. The arched windows prevent me from being able to use inside mount because it would leave the arch exposed at the top and the sunlight comes straight in those windows in the morning. Quite a disappointing situation if you’re trying to sleep. So, now I just need to decide exactly how high I want to mount them so I can make sure the shades are long enough.
I hope you’re enjoying following along with our first ever One Room Challenge and I hope you’ll check out all the other spaces being transformed this season!
